

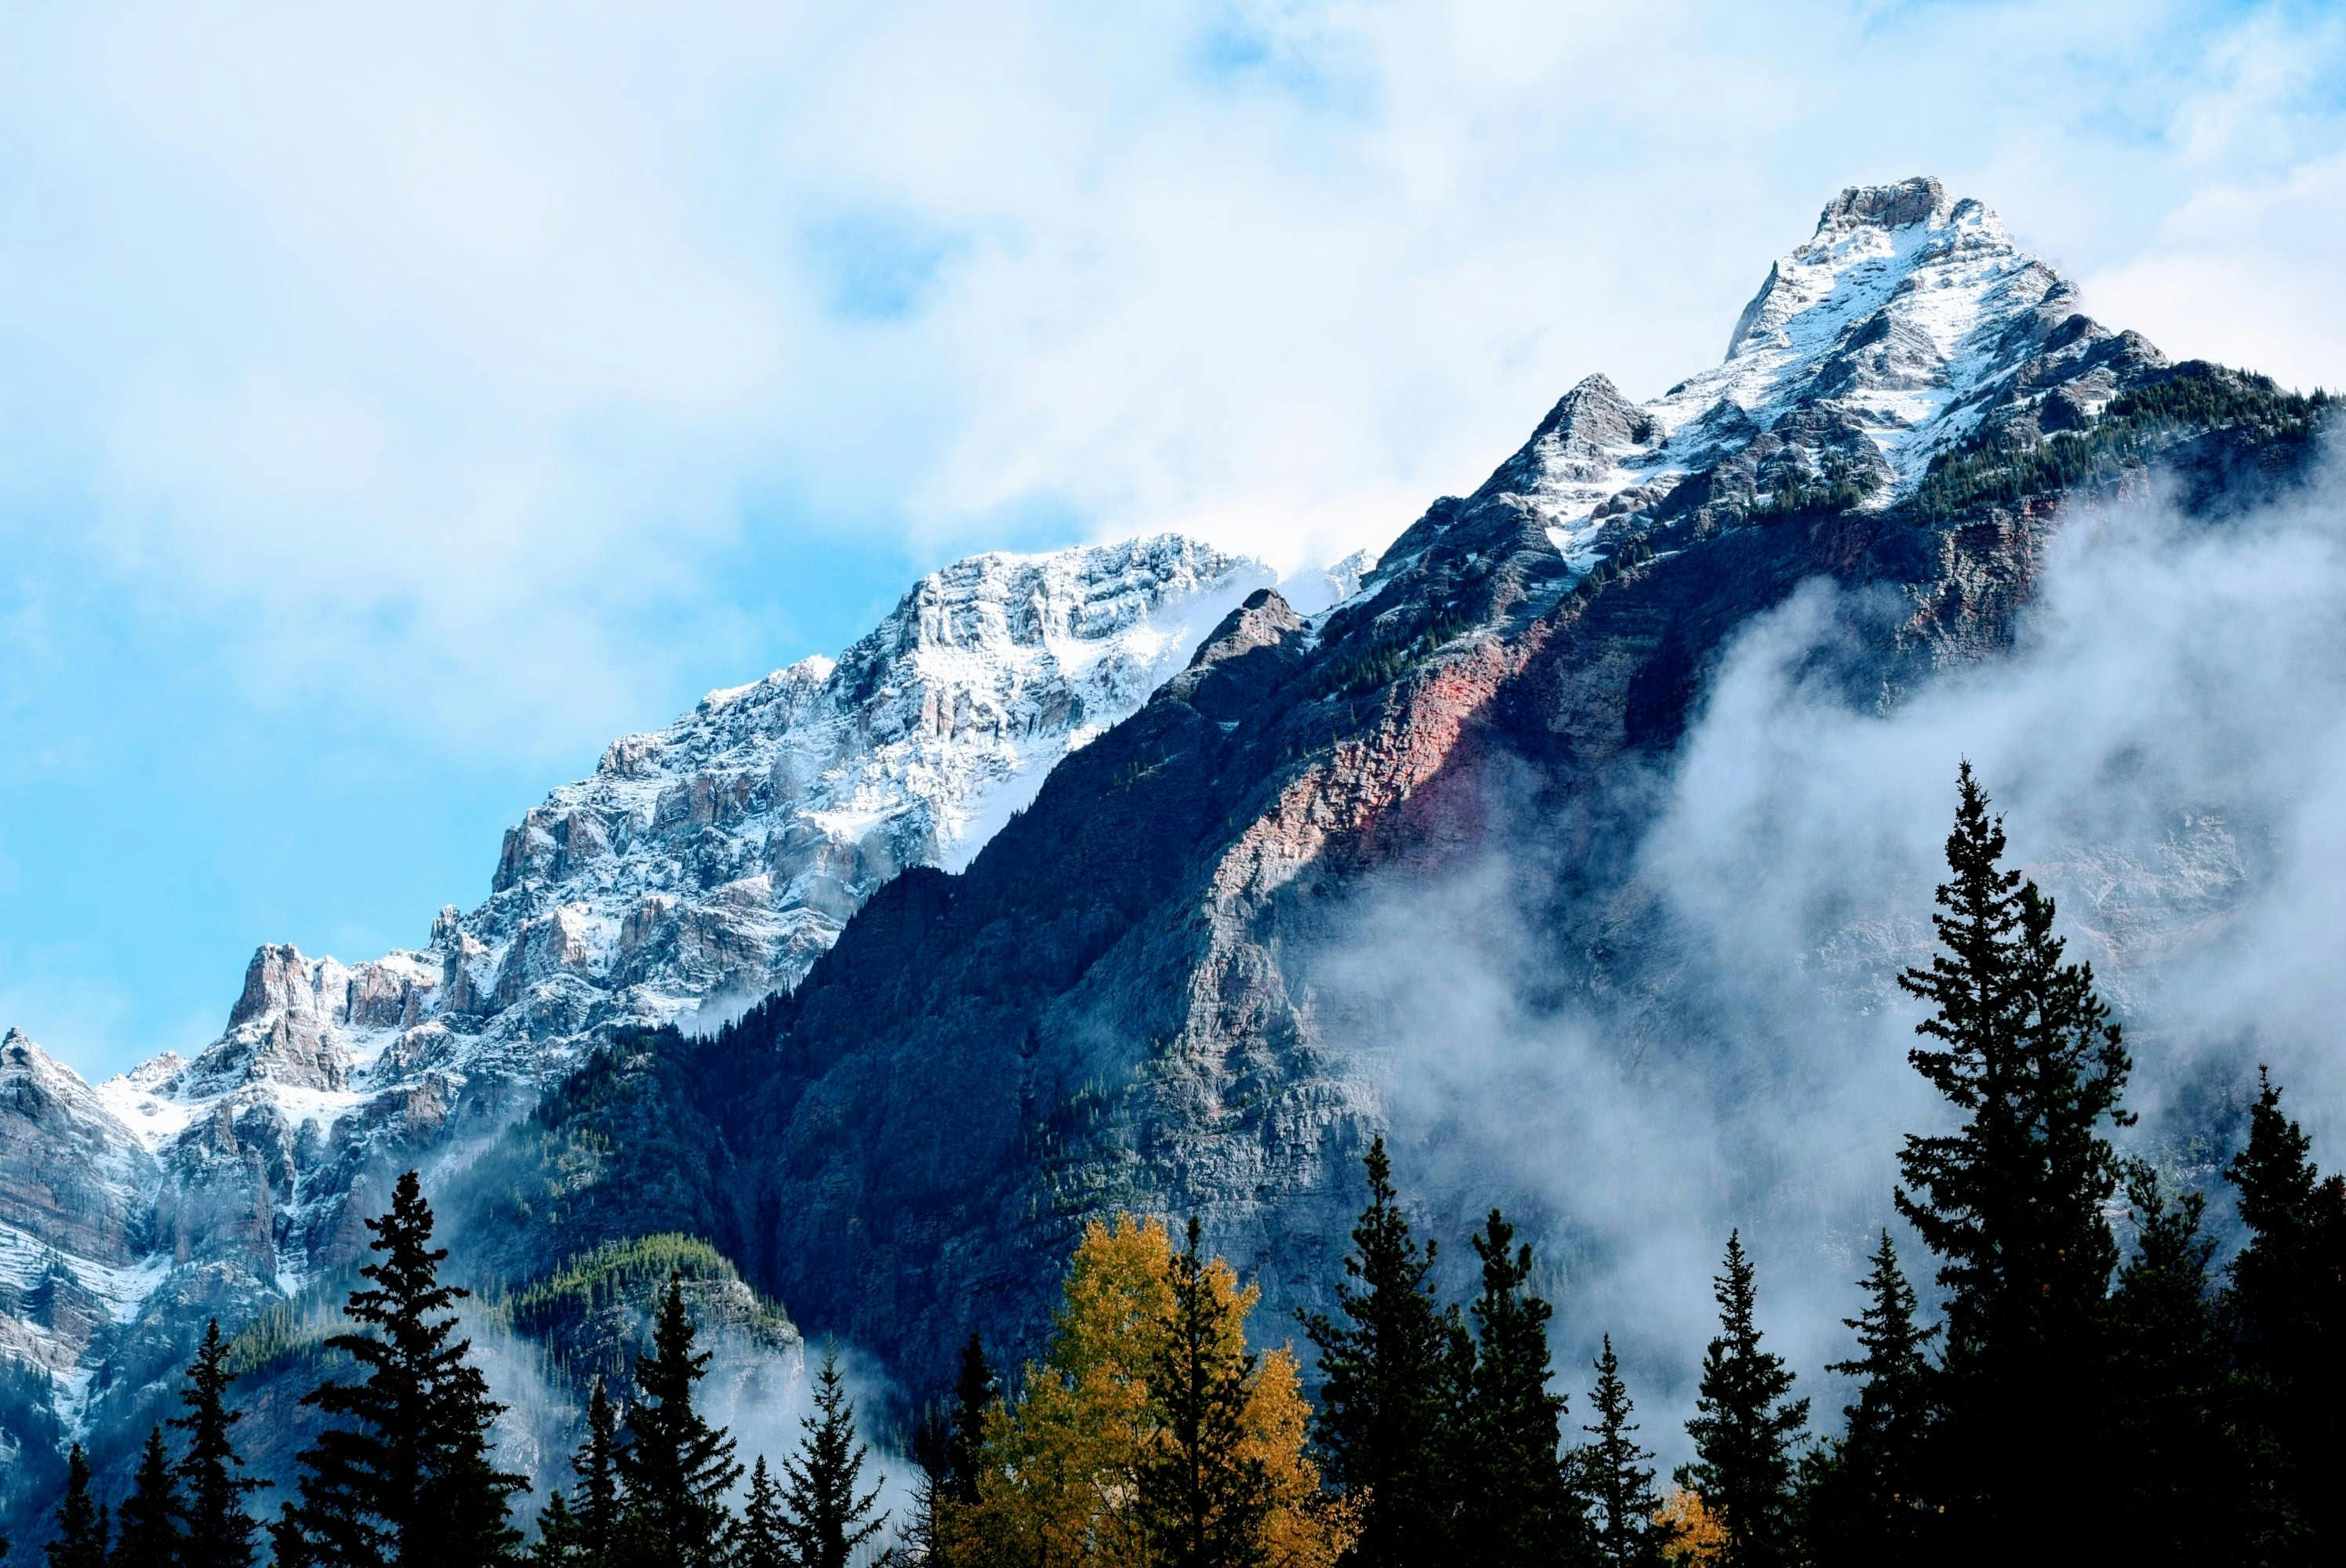
Have you ever looked at a stunning mountain view, perhaps from a picture of a place like New York's Adirondacks, and thought, "I wish I could draw that?" It's a common feeling, you know, because mountains have a certain kind of peaceful majesty. Many people, actually, feel a little shy about drawing, thinking it's too hard or takes too much skill. But what if I told you that creating a lovely mountain scene, even if you are just starting out, is quite within your reach? You really can do it.
There's a real joy in putting pencil to paper and seeing a landscape come to life, even a simple one. For folks who want to express their creativity without feeling overwhelmed, learning a few basic steps for a mountain easy drawing can be a perfect starting point. It’s about getting comfortable with shapes and lines, and it's pretty much a relaxing way to spend some time, too.
So, whether you're looking for a new hobby, a way to relax, or just want to try something different, this guide is for you. We'll walk through how to sketch mountains that look good, without needing a lot of special tools or a fine art degree. It's truly about enjoying the process and seeing what you can create, you know?
Table of Contents
Introduction
Why Simple Mountain Drawing Is So Appealing
Getting Started: What You Need
Basic Shapes for Your Mountains
Drawing Your First Easy Mountain: A Step-by-Step Guide
Adding Details: Texture and Light
Exploring Different Mountain Types
Common Questions About Drawing Mountains
Keeping Your Drawing Fresh and Fun
Your Next Steps in Mountain Art
Why Simple Mountain Drawing Is So Appealing
There's something very calming about drawing natural forms, and mountains, in a way, are among the most inspiring. People often look for ways to unwind, and sketching can be a wonderful outlet. It doesn't require a lot of special equipment, just a pencil and paper, and you can do it almost anywhere. This makes mountain easy drawing a very accessible activity for nearly everyone.
Many folks, you know, feel a sense of accomplishment when they create something with their own hands. A simple mountain sketch, even if it's just a few lines, can evoke feelings of peace or adventure. It’s a bit like taking a small mental vacation, actually, allowing your mind to wander and create. Plus, the results can be pretty pleasing, giving you a nice piece of art to enjoy.
Also, it's a timeless subject. Mountains have always captured human imagination, from the very tall peaks found on some New York topo maps, like those near Jay Mountain, to the more rounded forms you might see around Old Forge, or even the quite distinct shapes near Peekamoose Mountain. People are always looking for quick ways to express their creativity, and simple mountain drawing fits that perfectly. It's a skill that, in some respects, never goes out of style.
Getting Started: What You Need
You really don't need much to begin your mountain easy drawing adventure. That's part of its charm, you know. A few basic items are all it takes to get going, and you probably have most of them lying around your house already. It’s pretty straightforward, actually.
First, grab some paper. Any kind will do for practice, whether it’s printer paper, a sketchbook, or even the back of an old envelope. You don't need anything fancy, just a surface to draw on. It's basically about getting started, you see.
Next, pick up a pencil. A regular graphite pencil, like a #2 or HB, works great. If you have a set with different lead hardnesses, a softer one (like a 2B or 4B) can be good for darker lines and shading, and a harder one (like an H or 2H) for lighter outlines. But, honestly, just one pencil is totally fine to begin with. You might also want an eraser, just in case you want to fix a line or two, you know?
That's it, really! With just these few things, you are more or less ready to start drawing your very own mountain scenes. It’s quite simple, as a matter of fact, and you don't need to overthink it.
Basic Shapes for Your Mountains
When you look at mountains, they might seem complex, but at their core, they are made up of very simple shapes. Thinking about them this way is a key step in making mountain easy drawing, well, easier. It's almost like breaking down a big puzzle into smaller, manageable pieces, you know?
Most mountains, basically, start with triangles. They might be tall and skinny, like a sharp peak, or wide and squat, like a rolling hill. You can also think of them as jagged zigzags. Imagine the skyline of a range of mountains, perhaps like the ones seen on the topo maps for Jay Mountain or Berlin Mountain; it’s a series of ups and downs, very much like a saw blade, actually.
Beyond triangles, consider trapezoids for broader bases or slightly flattened tops. Some mountains, like those you might find near Old Forge or Buck Mountain, have more rounded, gentle slopes, which are more like soft curves or humps. You can also think of overlapping shapes. When one mountain stands in front of another, it creates a sense of depth, and that's just a matter of drawing one shape behind another, you know?
So, start by sketching these basic forms very lightly. Don't worry about perfection at this stage. It’s just about getting the general outline down. This foundation will make adding details later on much, much simpler, you see.
Drawing Your First Easy Mountain: A Step-by-Step Guide
Now, let's get to the fun part: actually drawing! This step-by-step guide will show you how to create a simple mountain scene, perfect for anyone looking for a mountain easy drawing approach. We’ll keep it very straightforward, you know, so you can build confidence with each line.
Step 1: The Outline
Begin by drawing a very light, wavy line across your paper. This will be the general top edge of your mountain range. It doesn't need to be perfect; just let your hand flow naturally. Think of it as the first hint of the horizon where the mountains meet the sky. You know, it's pretty much just a gentle curve, or maybe a few gentle ups and downs, to start.
Then, from this wavy line, draw lines going downwards to form the sides of your mountains. These lines can be straight, slightly curved, or even a bit jagged, depending on the kind of mountain you imagine. Some mountains, like those around Rocky Mountain in Ulster County, might have more dramatic, rocky sides, while others, like near Coon Mountain, could have softer slopes. Just keep them light for now, as you might want to adjust them. It's basically about getting the general shape, you see.
Step 2: Adding Peaks
Once you have the basic outline, go back to your top wavy line and add some distinct peaks. These are the highest points of your mountains. You can make some sharp and pointy, others more rounded, and some a bit flatter. Varying the height and shape of your peaks makes your mountain range look more natural and interesting, you know.
Remember, not all peaks are the same. Some might be very tall and slender, while others are broad and sturdy. You can also have smaller hills in front of taller mountains to create a sense of distance. Just play around with it; it's pretty much about what feels right to you, you know?
Step 3: Base and Ground
Now, connect the bottom of your mountain shapes to the bottom edge of your paper. This forms the base of your mountains and the ground in front of them. You can make the ground flat, or add some gentle hills and valleys at the base, whatever you prefer. It’s basically about giving your mountains a place to sit, you see.
You might also want to add a very light line for a horizon line in the foreground, indicating where the ground meets the sky or where a body of water might be. This helps to ground your drawing, literally. It’s a pretty simple addition that makes a difference, you know?
Step 4: Simple Shading
To give your mountains some depth and form, add a bit of shading. Imagine where the sun might be shining from. The side of the mountain facing away from the light will be darker. Use your pencil to gently shade these areas. You can use parallel lines, cross-hatching, or just smooth shading. It’s pretty much about creating a sense of light and shadow, you know?
For areas that are in shadow, you can press a little harder with your pencil or layer your shading. For lighter areas, keep your touch very gentle. This simple shading technique, actually, makes a huge difference in making your mountain easy drawing look more three-dimensional. It's quite effective, you see.
Adding Details: Texture and Light
Once you have the basic shapes and some shading, you can start adding a few simple details to bring your mountain easy drawing to life. These small touches can make a big difference in how your drawing looks, giving it a bit more character. It's basically about making it your own, you know?
For texture, think about what mountains are made of. Are they rocky, with sharp edges and crags, like some of the formations you might see near Deerfield Mountain or Samson Mountain? Or are they covered in trees, with softer, more rounded forms? You can suggest rocks by drawing small, angular lines and shapes on the shaded parts of your mountains. For trees, simple clusters of wavy lines or small, irregular shapes can work wonders. You don't need to draw every single tree, just give the impression of them. It's pretty much about suggestion, you know?
Light is also very important. If you shaded one side of your mountain, the other side should be brighter. You can even use your eraser to lift a bit of graphite from the brightest areas, making them stand out more. Consider adding a few highlights on the very tops of your peaks, where the sun would catch them. This contrast between light and shadow truly makes your mountains pop, you know. It's a very simple trick that adds a lot of visual interest, actually.
You might also think about adding snowcaps to your peaks, especially if you're drawing a very tall mountain. Just leave the very top parts of the peaks unshaded or lightly shaded to represent snow. This is a pretty common way to make mountains look even more grand, you know.
Exploring Different Mountain Types
Not all mountains look the same, and knowing this can help you vary your mountain easy drawing sketches. The world has a wonderful variety of mountain forms, from the sharp, dramatic peaks to the gentle, rolling hills. It's basically about observing and then simplifying what you see, you know?
Some mountains are very jagged, with sharp, distinct peaks and steep sides, perhaps like those found on the New York topo map called Jay Mountain. To draw these, use more angular lines and sharp points. You can also make the slopes quite steep. It’s pretty much about creating a sense of ruggedness, you know.
Other mountains are more rounded and soft, with gentle slopes and smooth curves, like the ones you might see near Old Forge or Buck Mountain. For these, use more flowing, curved lines. They often look like a series of humps or waves. These are, in a way, very comforting to draw, you see.
Then there are mountains that are quite rocky and irregular, perhaps with large exposed rock faces, like Rocky Mountain in Ulster County. For these, you might add more broken lines and varied textures to show the rough surfaces. You can even suggest a few individual boulders or rock formations. It's about capturing their unique character, you know.
By trying out these different shapes and styles, you'll find that your mountain easy drawing skills will grow, and you'll have more options for your sketches. It’s a pretty fun way to experiment, actually, and you might discover a favorite style.
Common Questions About Drawing Mountains
People often have similar questions when they start drawing mountains, and that's totally normal. It's pretty much about getting comfortable with the basics and building from there, you know. Let's look at a few common things folks wonder about.
What is the easiest way to draw a mountain?
The easiest way to draw a mountain, you know, is to start with a simple triangle shape. Don't press hard; just sketch it lightly. Then, add a few more triangles of different heights next to it, making them overlap slightly. This creates a basic mountain range. After that, you just add a line for the ground. It’s basically about keeping it super simple at first, you see. You can add a bit of shading later, but the core idea is those simple triangular forms. It’s a pretty quick way to get something on paper, actually.
How do you draw a realistic mountain step by step?
Drawing a mountain that looks realistic, in a way, involves building on those simple shapes. First, you know, sketch the overall silhouette of your mountain range using varied, irregular lines, not just perfect triangles. Think about the specific mountain forms, like those on the topo map for Snake Mountain or Berlin Mountain, which have distinct characteristics. Then, add texture: suggest rocky surfaces with small, broken lines, or indicate trees with clusters of irregular shapes. Pay close attention to light and shadow; identify where the light source is and shade the opposite side of the mountains, gradually building up darker tones. You can also add details like snowcaps, clouds, or a foreground with trees or water to make it feel more real. It's basically about layering details onto your initial simple forms, you know, and really observing how light hits the land.
What shapes are mountains?
Mountains, you know, are primarily made up of triangular shapes, but they are rarely perfect triangles. They often have jagged, irregular peaks and slopes that can be straight, curved, or wavy. Think of them as a collection of varied geometric forms: tall, skinny triangles for sharp peaks; wide, low triangles or trapezoids for broader bases; and gentle, rounded humps for rolling hills, like those near Bald Mountain. When mountains overlap, they create new, interesting shapes. So, it's pretty much a combination of these basic forms, all put together in unique ways. It's quite interesting, actually, how much variety there is in natural shapes.
Keeping Your Drawing Fresh and Fun
To keep your mountain easy drawing practice engaging, try to mix things up a bit. You know, drawing the same thing over and over can get a little dull, so finding ways to add new elements keeps it interesting. It’s basically about exploring and trying new things, you see.
One idea is to experiment with different tools. Instead of just a pencil, try drawing with a pen, charcoal, or even a simple ballpoint pen. Each tool creates a different feel and texture, which can be pretty inspiring. You might find you really like how a pen makes sharp, clear lines, or how charcoal creates soft, smoky effects. It's a very simple way to add variety, actually.
Another thing you can do is add other elements to your mountain scenes. Think about the sky: add some clouds, a sun, or a moon. You could also include a small lake or river at the base of your mountains, or even a tiny cabin or a few trees in the foreground. These additions can tell a bit of a story and make your drawing feel more complete. You know, it's pretty much about creating a whole little world on your paper.
Also, don't be afraid to look at real mountain photos for inspiration. Sites like Unsplash or Pixabay have lots of free images. See how light falls on different peaks, or how various mountain ranges, like those found on New York topo maps, have their own distinct characters. This can give you new ideas for shapes and details. You can learn more about drawing techniques on our site, and even check out this page for landscape drawing tips. It's pretty much about letting your creativity flow, you know, and enjoying the process.
Your Next Steps in Mountain Art
So, you've taken your first steps into the world of mountain easy drawing, and that's something to feel good about! Remember, drawing is a skill that grows with practice, so don't worry if your first few attempts aren't exactly what you envisioned. It's all part of the process, you know. Every line you draw, every shape you sketch, helps you improve. It’s basically about consistent, gentle effort, you see.
Keep practicing those simple shapes and techniques we talked about. Try drawing mountains from different angles, or with various weather conditions like cloudy skies or bright sunshine. The more you experiment, the more comfortable you'll become with your pencil and paper. You know, it's pretty much about building muscle memory for your hand and eye.
Most importantly, have fun with it! Drawing should be a relaxing and enjoyable activity, not a chore. Let your imagination guide you, and create mountain scenes that bring you joy. Maybe you'll draw a towering peak like those on the Jay Mountain topo map, or a gentle, rolling hill like near Old Forge. Just keep sketching, and watch your skills grow with each new drawing. It's a very rewarding journey, actually, and you're already on your way.
Detail Author:
- Name : Mrs. Meggie Schmidt
- Username : fredy03
- Email : lonny.mckenzie@gulgowski.info
- Birthdate : 1997-04-17
- Address : 769 Langosh Roads Apt. 879 North Kraig, UT 73579-1578
- Phone : 1-918-369-9013
- Company : Hagenes, Reilly and Hayes
- Job : Laundry OR Dry-Cleaning Worker
- Bio : In et et iusto at deserunt repellat mollitia consequatur. Explicabo et dolores ut architecto sint delectus ad. Voluptate ratione sit blanditiis qui aut. Eveniet ea id odit et.
Socials
facebook:
- url : https://facebook.com/kanedicki
- username : kanedicki
- bio : Aliquid in omnis eaque dolorem quidem est debitis.
- followers : 4990
- following : 2667
linkedin:
- url : https://linkedin.com/in/kane_dicki
- username : kane_dicki
- bio : Asperiores vero ea ipsa dolor aut ad.
- followers : 4929
- following : 994
twitter:
- url : https://twitter.com/dickik
- username : dickik
- bio : Voluptas eligendi laborum et ullam alias et. Incidunt minus nulla sapiente. Repellendus inventore a sit voluptate ipsum quia.
- followers : 6155
- following : 2132


 Bonus
Bonus