

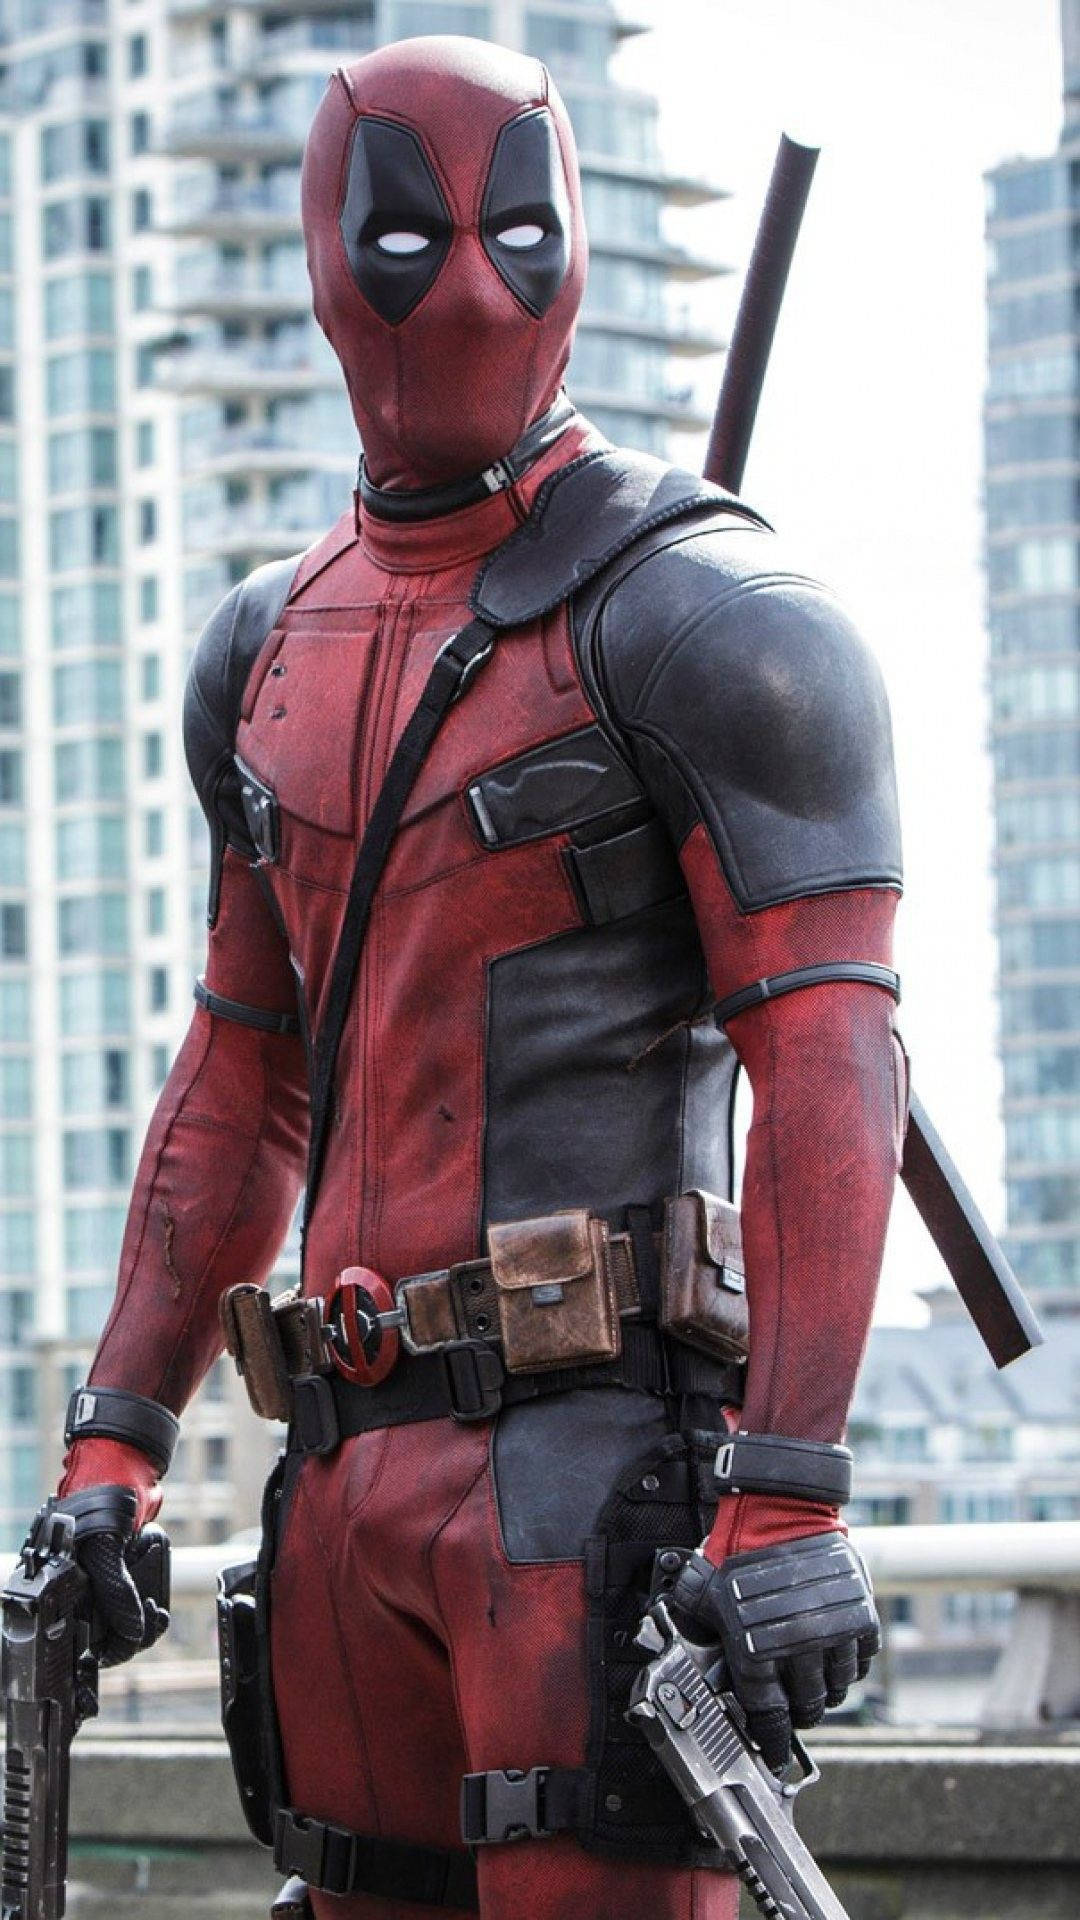
There is something truly special about bringing a favorite character to life, and for many, that character is the one and only Deadpool. People really enjoy getting into the spirit of things, especially when a character has such a unique look. If you are thinking about stepping out as the Merc with a Mouth, getting your face paint just right can make all the difference. It really helps to capture that playful, yet tough, vibe Deadpool has, and that, is a big part of his appeal.
With the new movie, "Deadpool & Wolverine," officially rated R for "strong bloody violence and language throughout, gore and sexual references," there is, you know, a renewed interest in everything about him. This means getting his look down, including the mask or face paint, is more popular than ever. People are looking for ways to show their appreciation for his humor and his fighting style, and a good face paint job can truly do that.
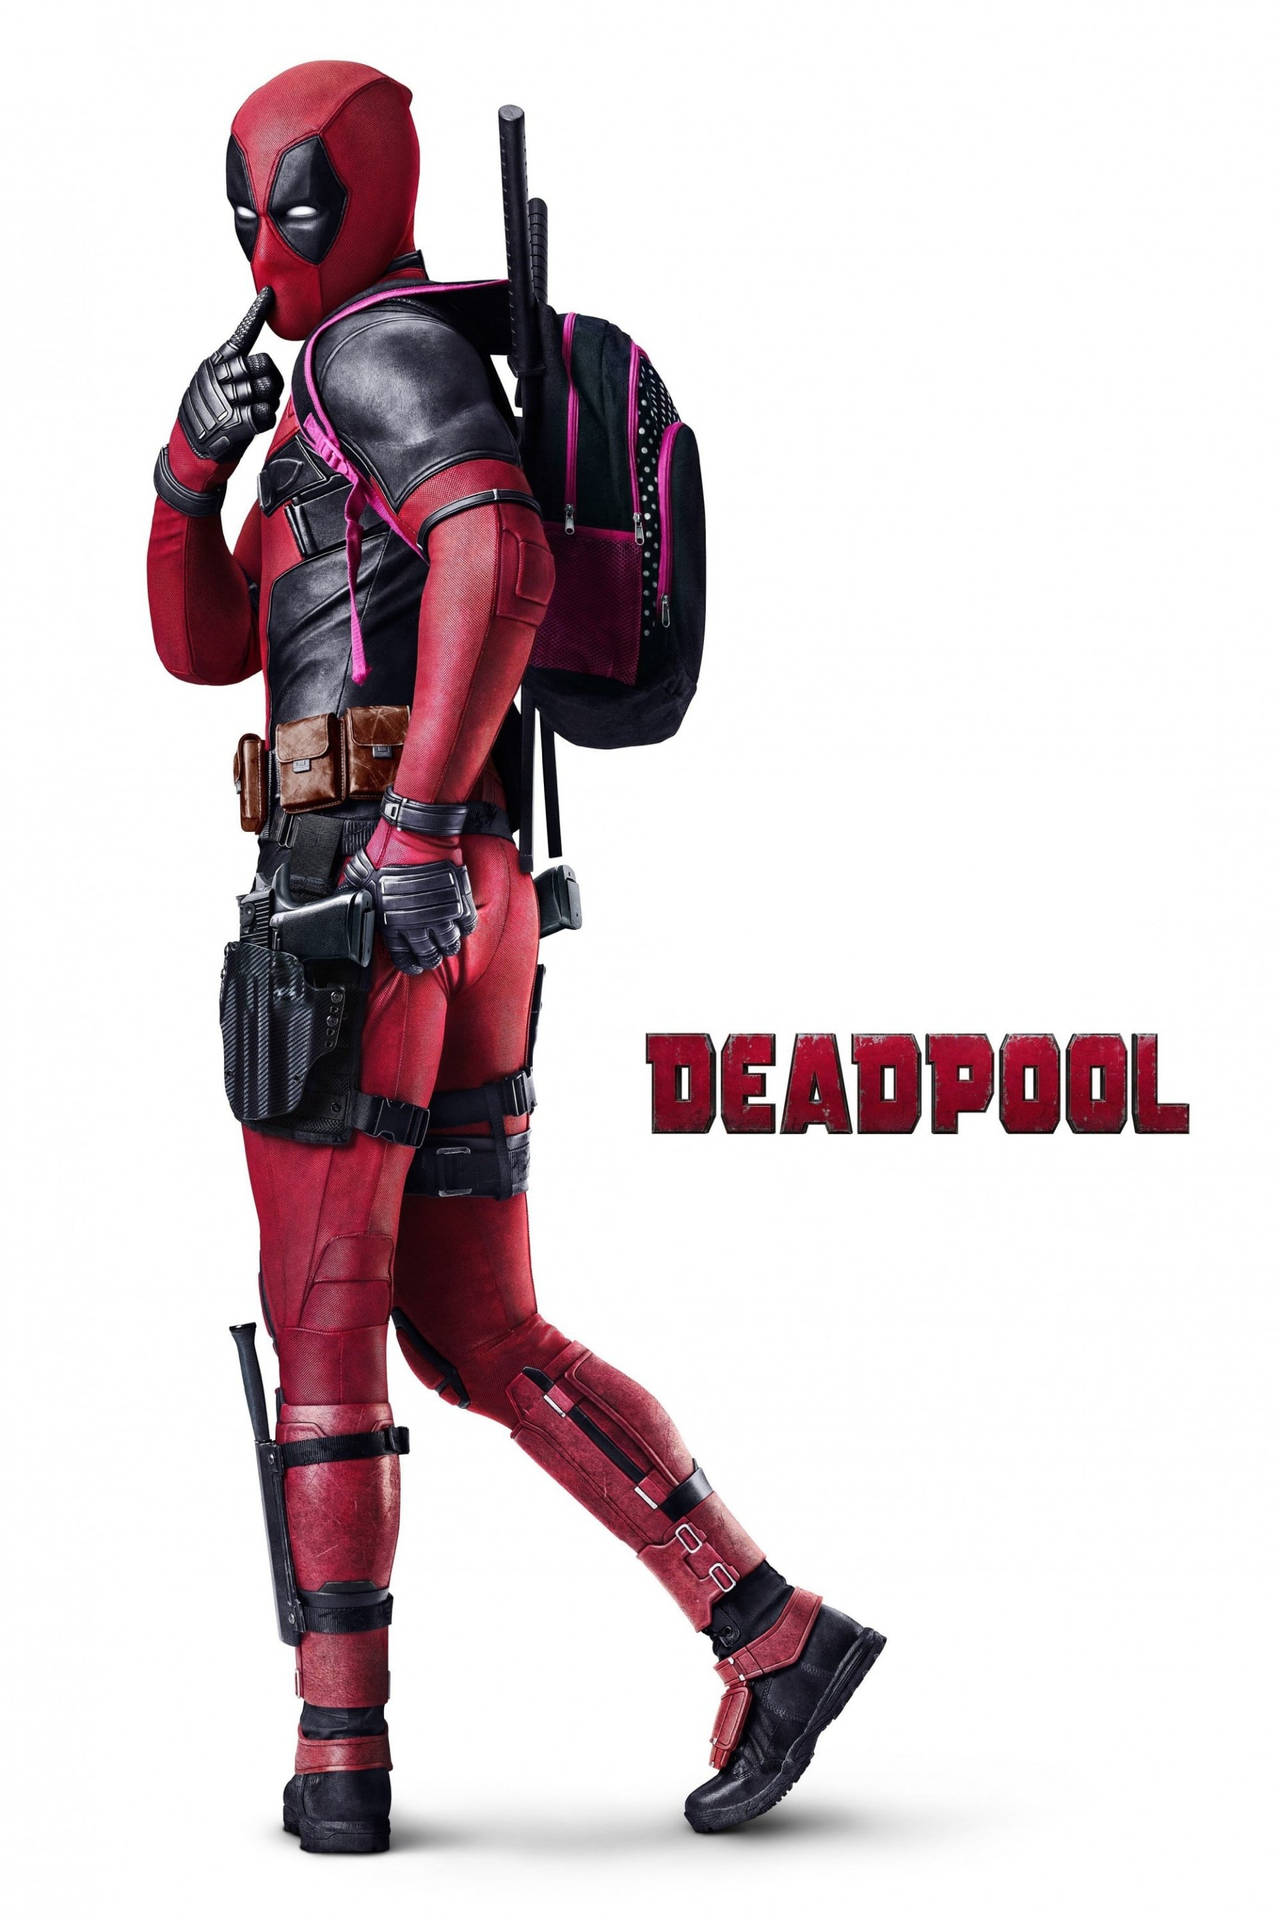
This guide will walk you through the steps to achieve that iconic Deadpool face paint look. We will talk about what you need, how to put it on, and some clever ways to make it stand out. So, too it's almost time to get ready to transform yourself into the character who often breaks the fourth wall, making jokes and, you know, just being himself.
Table of Contents
- Getting Ready: Your Deadpool Face Paint Kit
- Preparing Your Canvas for Deadpool Face Paint
- Step-by-Step: Applying Your Deadpool Face Paint
- Tips and Tricks for a Super Deadpool Look
- Frequently Asked Questions About Deadpool Face Paint
- Wrapping Up Your Deadpool Transformation
Getting Ready: Your Deadpool Face Paint Kit
Before you start putting paint on your face, it is a good idea to gather all the things you will need. Having everything ready means you can work without stopping, which, you know, makes the whole process smoother. Think of it like getting your coding environment set up; you need the right tools and extensions for a smooth experience. Just as an "Ai toolkit extension for VS Code now supports external local models via Ollama," you need the right face paint tools to get the look you want.
The Colors You Need
Deadpool's look is pretty much about two main colors, so you will need to get these right. This is where the core of your transformation comes into play. You might think, "Oh, it's just red and black," but the quality of these can really change the outcome.
A strong, vibrant red face paint: This will be the main color for most of your face. You want a red that really stands out, one that has a lot of pigment. It should cover well, so you do not need to put on too many layers. A good red will make your face look like it is part of his suit, rather than just painted. You could say, in a way, it needs to be as bold as Deadpool's personality.
A deep, dark black face paint: This color will be for the areas around the eyes and for any lines or shadows you want to add. The black needs to be very dark, not gray or faded. It should provide a strong contrast against the red, making the eye areas really pop. Think of it as the outline that makes the character recognizable. It is, you know, quite important for the overall effect.
Tools for the Job
Having the right brushes and sponges makes a big difference in how well your face paint goes on. You could be, arguably, the best artist, but without the right tools, it is harder to get a smooth finish. It is a bit like having the latest updates on your machine; you need the right setup to perform your best.
Face paint sponges: These are great for putting on the main red color evenly across larger parts of your face. They help create a smooth, streak-free base. Using a sponge ensures the color is spread out nicely, not too thick in one spot and too thin in another. You will want a few of these, just in case.
Different sizes of brushes:
A medium-sized flat brush: Good for defining larger areas, like the edges of the red or the start of the black eye sections. It helps with getting a cleaner line than a sponge might give you. This brush is useful for making sure the shapes are just right.
A small, pointed brush: This one is for the fine details. You will use it for the precise lines around the eyes, any smaller black marks, or even for adding subtle shadows. This brush allows for accuracy, which, you know, is pretty important for the details that make the look. It is almost like a precision tool for a delicate task.
A very fine brush: If you want to add tiny details, like subtle textures or small imperfections that make the face look more like fabric, this brush is for that. It gives you the ability to do very small strokes.
A small cup of water: This is for wetting your paints if they are dry, and for cleaning your brushes as you go. Clean brushes help keep your colors pure and prevent mixing. Just a little water can activate the paint, so you do not need much.
Paper towels or a cloth: For drying your brushes and wiping away excess paint. These are, basically, essential for keeping your workspace tidy and your tools ready for the next step.
Prep and Clean-Up Items
Getting ready and cleaning up are parts of the process that people sometimes forget, but they are very important for a good experience. Think of it like setting up your function app; you need to configure things like `appsetting azurewebjobsstorage` to connect to storage, right? Similarly, you need to prepare your skin and plan for clean-up.
Gentle face cleanser: To clean your face before you start. A clean face helps the paint stick better and last longer. It removes oils and dirt that could make the paint look patchy. This is, you know, a pretty basic step for any makeup application.
Moisturizer: A light, non-greasy moisturizer can create a barrier between your skin and the paint, making it more comfortable and easier to remove later. Let it soak in completely before you start painting. It is, arguably, a good protective measure.
Makeup setting spray or powder: This helps lock your face paint in place, preventing smudges and making it last for hours. This is especially useful if you are going to be out and about, or if you plan to be active. It is, basically, your way of making sure your hard work stays put.
Makeup remover or baby oil: For when it is time to take the paint off. Some face paints can be stubborn, so having a good remover on hand is a smart idea. Baby oil often works wonders for breaking down oil-based paints. You want to be able to remove it easily, so you do not have to scrub your skin.
A mirror: A good mirror, preferably one that lets you see your whole face clearly, is, like, pretty essential. You need to see what you are doing. A magnifying mirror can also help with the finer details.
Preparing Your Canvas for Deadpool Face Paint
Getting your face ready before applying any paint is a step that really helps with the final look and how comfortable you feel. It is not just about slapping on the colors; a good base makes everything better. You know, just like how a successful build and testing using a virtual iPhone interface means Visual Studio connects remotely to the MacBook, sending the necessary project files to Xcode; your face needs its own kind of preparation.
Clean your face: Start with a clean face. Use your gentle face cleanser to wash away any dirt, oil, or leftover makeup. Rinse well with warm water and pat your skin dry with a clean towel. This step helps the face paint go on smoothly and stick better. It is, basically, the first step for a good result.
Moisturize lightly: Apply a thin layer of a light, non-greasy moisturizer. Let it sink into your skin for a few minutes until it feels dry to the touch. This creates a barrier, which, you know, can make the paint more comfortable to wear and easier to remove later on. It is a protective layer, in a way.
Consider a primer: If you have one, a face primer can help smooth out your skin's surface and create an even better base for the paint. It can also help the paint last longer. This is, arguably, an extra step that can make a difference, especially if you want the paint to stay put for many hours.
Step-by-Step: Applying Your Deadpool Face Paint
Now that you have all your things ready and your face prepared, it is time to start painting. This is where the fun really begins. Take your time with each step; there is no need to rush. It is a bit like coding; you want to get each line right for the whole program to work. So, you know, just go at your own pace.
Laying Down the Base
The red base is the most important part of your Deadpool face paint. It sets the stage for everything else. You want this layer to be even and solid. This is, basically, the foundation of your look.
Activate your red paint: If your red face paint is a solid cake, wet your sponge slightly. Rub the sponge on the paint cake to pick up a good amount of color. You want it to be creamy, not too watery or too dry. Test it on the back of your hand first to see the consistency. It should apply smoothly, like a good quality paint.
Apply the red base: Start applying the red paint all over your face, avoiding the areas where the black eye patches will go. Think about where a Deadpool mask would cover. This usually means leaving a space around your eyes, shaped like the eye holes of his mask. Use dabbing motions with the sponge rather than wiping, to get an even, opaque coverage. Make sure to get into all the nooks and crannies, like around your nose and chin. You want it to look like a second skin, more or less.
Build up the color: If the first layer is not fully opaque, let it dry for a minute or two, then apply a second thin layer. Building up the color in thin layers helps prevent cracking and gives a smoother finish. This is, you know, a pretty common technique in face painting to get good coverage.
Creating the Eye Areas
The black eye areas are what really make the Deadpool face paint recognizable. They are the windows to your character, you know. This is where precision comes in handy.
Outline the eye shapes: Using your medium-sized flat brush and the black face paint, carefully draw the outline of Deadpool's eye shapes around your eyes. These are usually almond-shaped, pointing slightly upwards at the outer corners. Make sure they are symmetrical on both sides. This step is, basically, like drawing the blueprint for the most important part of the mask.
Fill in the black: Once you are happy with the outlines, use the same brush or a slightly larger one to fill in the outlined areas with black paint. Make sure the black is solid and dark, with no red showing through. Take your time to get clean edges. This is, you know, where the character really starts to appear.
Define the white "lens" areas (optional): Some people like to add a small white dot or a small white crescent shape within the black eye area to mimic the reflective lenses of his mask. Use your very fine brush and a small amount of white face paint for this. This small detail can add a lot of depth and make the eyes look more like his comic book appearance. It is, arguably, a nice touch.
Adding the Black Details
Deadpool's mask has some black lines and details that give it texture and shape. These details help make the face paint look more like fabric and less like just flat color. This is where you can really bring out the "battle master kind of guy" in him.
Draw the forehead line: With your small, pointed brush and black paint, draw a line down the center of your forehead, starting from your hairline and going down towards the bridge of your nose, stopping before it reaches the eye areas. This line helps create the illusion of the mask's seam. It is, you know, a pretty key feature.
Add cheek lines: Draw a line on each cheek, starting from the outer edge of the black eye area and curving slightly downwards towards your jawline. These lines help shape the face and give the mask a more defined look. They are, basically, like contour lines for the mask.
Create jawline definition: You can add some subtle black lines along your jawline to give the appearance of the mask wrapping around your face. These lines can be short and broken, suggesting fabric folds. This helps the face paint look less flat. It is, arguably, a good way to add dimension.
Consider texture lines: Using your very fine brush, you can add very thin, short, broken black lines across the red areas to mimic the texture of fabric or stitching. These should be subtle, not too bold. This can give the face paint a more realistic, worn look, reflecting his adventures. You know, he does get sliced up by Wolverine sometimes, but he just regrows himself, so a few texture lines can show that.
The Finishing Touches
Once all the paint is on, there are a couple of final steps to make sure your Deadpool face paint lasts and looks its best. These are, basically, the seal of approval for your work.
Apply setting spray or powder: Once all the paint is dry, lightly mist your face with a makeup setting spray. Hold the bottle about 8-10 inches away and spray in an 'X' and 'T' motion across your face. If you are using setting powder, gently dab it over the painted areas with a large, soft brush. This helps seal the paint and prevents smudging. This is, you know, pretty important for longevity.
Check for touch-ups: Look at your face in the mirror from different angles. Are there any spots you missed? Any smudges? Use your small brush to clean up any edges or fill in any gaps. A quick look around can catch little things that make a big difference. It is, basically, your final quality check.
Tips and Tricks for a Super Deadpool Look
Beyond the basic steps, there are ways to make your Deadpool face paint truly stand out and capture the character's unique spirit. These are, you know, the little things that can make your costume memorable.
Making It Last
You want your hard work to stay put, especially if you are going to an event. Just as you want your code to be stable after "a successful build and testing," you want your face paint to hold up.
Layer thinly: Instead of one thick layer of paint, apply several thin layers. Each layer should dry a bit before the next. This makes the paint more flexible and less likely to crack. It is, arguably, a better way to build color.
Avoid touching your face: Once the paint is on and set, try not to touch your face. Oils from your hands can break down the paint. This seems obvious, but it is easy to forget. So, too it's almost a challenge to keep your hands away.
Carry touch-up supplies: A small pot of red and black paint, a small brush, and some setting powder can be lifesavers for quick fixes throughout the day or night. Just a little kit can make a big difference. You know, you never know when you might need a quick fix.
Capturing His Personality
Deadpool is more than just a red and black suit; he has a big personality. You can hint at this with your face paint.
Expressive eyes: Even though the black areas are solid, you can use your eyebrows underneath to convey emotion. A slightly raised eyebrow, or a furrowed brow, can show a lot. This helps bring the character to life, even without visible eyes. It is, basically, a way to act through the paint.
Fourth wall break nod: Since "Deadpool breaks the fourth wall" by thinking he is in a comic book, you could, very subtly, paint a small, empty speech bubble near your temple with a fine brush. This is a clever nod to his unique trait and something fans would appreciate. It is, you know, a pretty fun detail.
Chimichanga reference: While not directly about face paint, a fun way to embody Deadpool is to have some chimichangas nearby. "Both Deadpool films are currently free to watch on Tubi," and you can find "a delicious recipe for chimichangas" to enjoy while getting ready or after. It is, arguably, a tasty way to get into character.
Linking to Deadpool's Abilities
Deadpool's healing factor and his relationship with Wolverine are core parts of his story. You can subtly reference these in your look.
Subtle "damage" (optional): Given that "Wolverine would slice Deadpool up to pieces but then he’d just regrow himself," you could, if you feel adventurous, add a very small, thin, black line or two with a tiny red edge to suggest a recent "healing" scar. This should be done sparingly and carefully, so it looks like a healed wound, not a messy one. It is, you know, a pretty advanced detail.
The "healing factor" glow: You could, perhaps, add a very, very light shimmer powder over the red paint, especially on the cheeks and forehead. This can give the illusion of a subtle, otherworldly glow, hinting at his rapid cell regeneration. It is a creative way to show his unique power. Deadpool was given his healing factor from Wolverine, but because of his degenerating cells from his cancer, his healing factor became unique to himself, so this glow could represent that.
Frequently Asked Questions About Deadpool Face Paint
People often have questions when they are getting ready to try out a

Detail Author:
- Name : Adriana Walker
- Username : karianne.collins
- Email : wsmith@runte.info
- Birthdate : 1982-10-16
- Address : 58089 Dickens Lake Lake Malcolmside, UT 02396-1756
- Phone : +1-678-587-9491
- Company : Mayer, Daniel and Towne
- Job : Marine Architect
- Bio : Quibusdam nam delectus voluptate optio aperiam impedit. Est vel ipsam beatae placeat. Dolor ut voluptatem harum totam aut accusantium.
Socials
linkedin:
- url : https://linkedin.com/in/robert_xx
- username : robert_xx
- bio : Repellendus architecto quia animi exercitationem.
- followers : 4669
- following : 773
facebook:
- url : https://facebook.com/oberbrunnerr
- username : oberbrunnerr
- bio : Ut fugit optio iste praesentium aliquam.
- followers : 6749
- following : 68
tiktok:
- url : https://tiktok.com/@oberbrunnerr
- username : oberbrunnerr
- bio : Rerum minus at omnis tempore vero. Minus nostrum doloribus est deleniti beatae.
- followers : 2104
- following : 1676
twitter:
- url : https://twitter.com/oberbrunnerr
- username : oberbrunnerr
- bio : Aut in incidunt fugit quia repudiandae dolorem nesciunt. Corporis fugiat quos voluptates. Optio ullam in nihil. Quia repellat velit veritatis ex quaerat.
- followers : 6133
- following : 1450


 Bonus
Bonus